Interface Overview

-
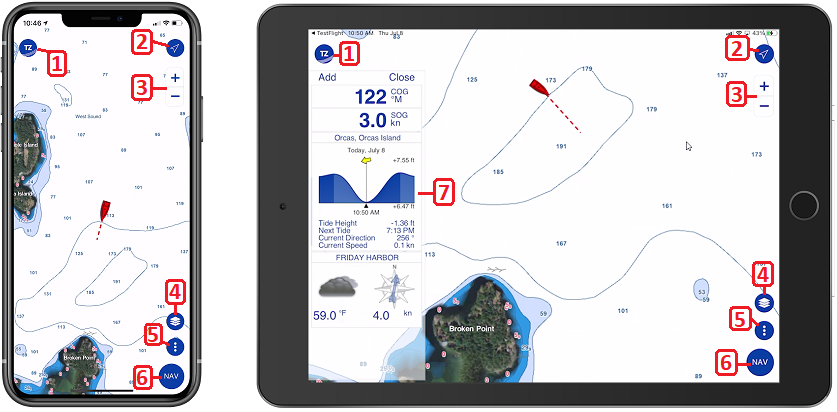
TZ button: This button opens the main TZ iBoat menu. From there, you can see all your Trips, search items (marks, routes, tide stations...), manage your offline data (charts and weather), access the store (purchase charts and modules), perform quick actions, and access the various advanced settings of TZ iBoat.
- GPS button: Tap this button to center your Own Ship position on the screen. Tap again to change orientation mode (North Up or Head Up mode). Note that by default the Head Up mode is displayed in 3D perspective to show more of what is going on ahead (this can be changed from the Plotter settings).
-
Zoom buttons: Tap these buttons to zoom in or zoom out on the chart. On iPad you can also use a zoom slider (that can be enabled from the Plotter settings). Note that both iPad and iPhone support “pinch to zoom” gesture.
-
Layer button: Tap this button to open a panel where you can select what is displayed on your screen (chart selection, satellite picture overlay, depth shading overlay, weather overlay, tides icon…)
-
Action button: Tap this button to perform various actions such as creating an event, activating the Anchor Watch, or showing the divider tool.
-
Nav button: Tap this button to start your navigation. When enabled, some information will be displayed at the bottom of the screen (trip distance, trip time and speed) and your Trip will be recorded.
-
NavData Panel: The NavData panel can be displayed or hidden by swiping your finger from the left edge of your device. Although the NavData panel can be displayed in either portrait or landscape mode, it is better suited for landscape screen orientation.
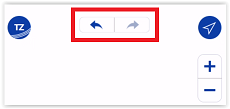
When you create or modify any object (marks, routes, boundaries…), Undo and Redo buttons will appear automatically for 5 seconds:

Also located at the top of the screen is the status bar used to display notification and alarms (alarms can be silenced if you tap this area):
